Your Summer Garden, Lets Get started!
Here is a guide to start your summer garden now in the spring!
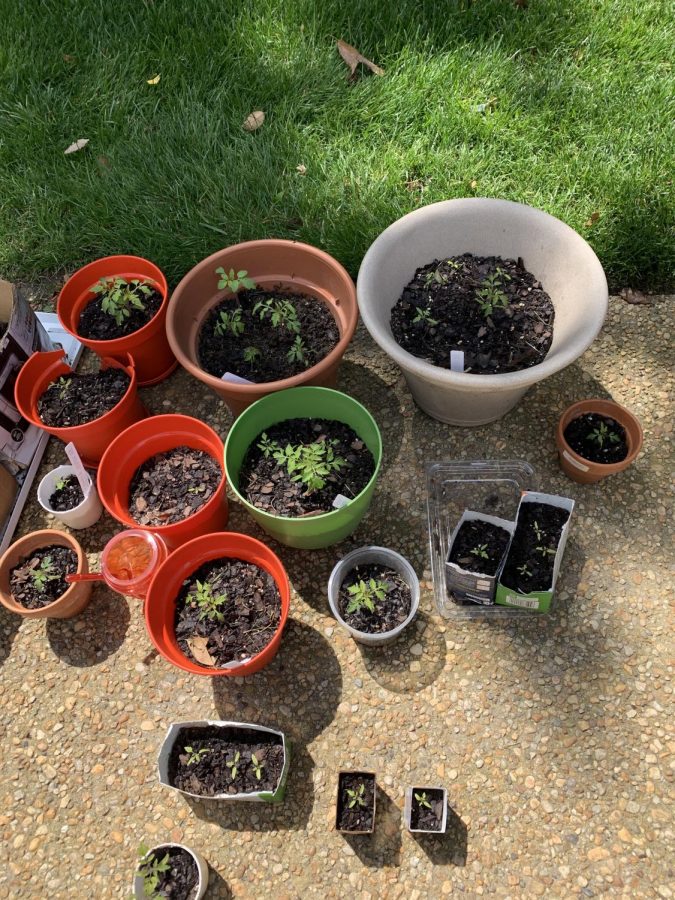
The plants have sprouted and we were able to move them to the pots! Me and my sister transferred our sprouts into the pots outside. This is them after a few weeks in their new location.
Last March, Williamsburg Virginia was going through the very first stage of quarantine. During that time, people found many different new ways of occupying their time. Me and my sister took our energy outside, and to our back yard. We decided we would start a small garden so we could enjoy the harvested fruits and vegetables with our family all summer! My sister, Abbey Potter said, “Gardening is very fun, and even more fun when you can eat your plants!”

With spring on the rise and summer approaching, everyone needs to get outside! Starting a garden is a great way to stay occupied and healthy! Good thing it’s the perfect time of the year (yet again) to start your very own summer garden! Though it is hard work, it is a wonderful way to spend family time, and the product is as delicious as can be!
The first thing you need to do to start your garden is choose what you would like to grow this season. Because of the season there are a wide variety of choices. Though, of course, some plants need
to be grown in the fall and winter, so we need to remember that not everything is on the table. You also need to think about how much space you have and adjust your selections based on that as well. If you have a smaller space, no worries! That is what t guide is on today. If you have a big space, you can plant these as well, and with no problem.
Here are some options to choose from:
- Cucumbers
- Tomatoes
- Bell Peppers
- Beans
- Onions
- Raspberries
- Zucchini
- Jalapenos
- Radishes
Now that you have your plants chosen, the next step is to figure out when to start the seeds. First, you have to find out when the last frost is. The last frost is based on area, and if you plant your seeds beforehand or when not advised for the plant based off of this date, the frost could kill the seeds you worked hard on planting. In the Williamsburg area, the last frost is April 15th.
If you are choosing a plants not on this list make sure to research when, based on the last frost, you need to plant your seed. For the plants I have listed, here are the dates you can plant the seeds. For Cucumbers, you need to be sure to plant your seeds after the last chance of frost. They don’t tolerate the frost well. When planting tomato seeds, you also need to plant soon after the last chance of frost. When planting beans, plants about a week after the last frost. If you are looking to plant onions this spring, look to plant them a few weeks before the last frost. Next, if you plant raspberries, they can be grown even into the summer, but a couple weeks after last frost. Zucchini should plant as seeds soon after the last frost. Jalapenos three to four weeks after the last frost. Radishes should be grown 4 weeks before last frost. Make sure to start your radishes as soon as you can!
There are a few good places you can find the seeds as well as ordering them online. Locally, you can go to 210 Monticello Ave, Williamsburg, VA 23185 to Ace Hardware, 6700 Mooretown Rd, Williamsburg, VA 23188 at The Home Depot, or at 731 E Rochambeau Dr, Williamsburg, VA 23188 at the Walmart Garden Center.
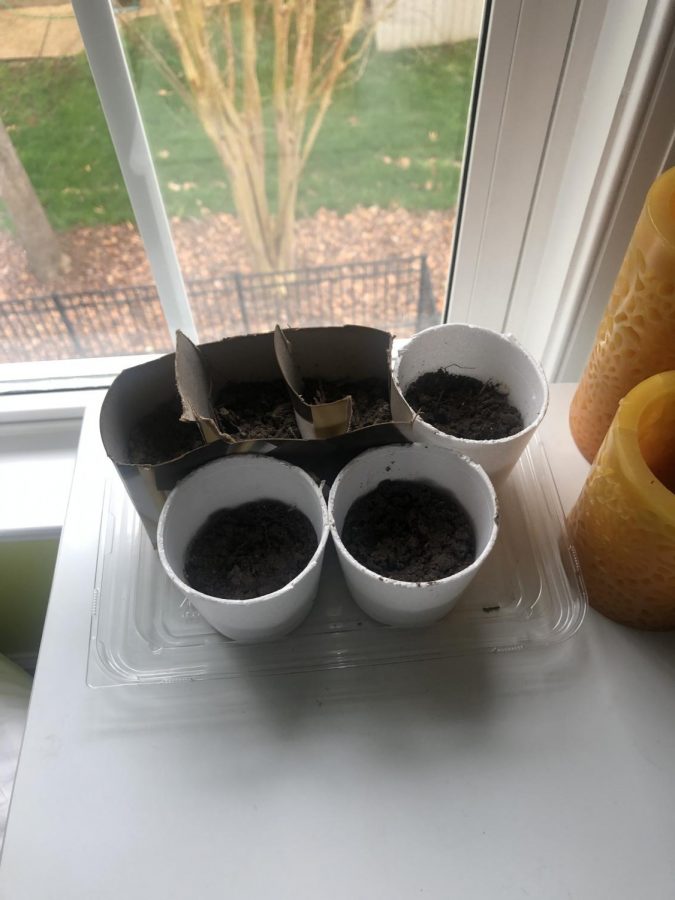
Now that you know when to plant the seeds, you have to know how. After you have picked out what plants you want, all you need to get Styrofoam cups, the right dirt and water. Also found at the locations above, as well as many other places and stores online, you can find potting soil. You will start with the potting soil to begin the seeds.

First, you get a Styrofoam cup and cut it in half. Then, you will fill the remaining cup will your potting soil. Use your finger, or anything short and thin, to poke a hole in the dirt about an inch deep. Here is where you will place your seeds. Place 4 or 5 small seeds into the hole. This will give you much better odds for sprouting a plant. After you have placed the seeds cover up the hole again with dirt. Make a few of these cups per plant to make sure you have a beautiful, plentiful garden. Next, follow the instructs on the seed package for how much sunlight and water your individual plant needs.
After you have followed these instructions correctly, you should see a sprout in about two weeks. When you see a sprout, and that sprout has 4-5 leaves, and you can see its routes are well developed, you can now move them into an outdoor space. You can now carefully transfer your sprout into a pot or a cleared space outside.
Now, to make sure your garden prospers, continue to follow your seed packet with instructions . Now, as you tend to your garden, you can watch your plants grow throughout theseason! Soon enough you’ll have a garden full of food to enjoy all summer! As my sister Abbey said about doing this to start a garden, ” This should work.”